Practical advice
Contains affiliate links
Where to position a bird-feeder camera in your garden
Find a camera-feeder position that balances bird safety, useful light, Wi-Fi or power, privacy and easy weekly cleaning.
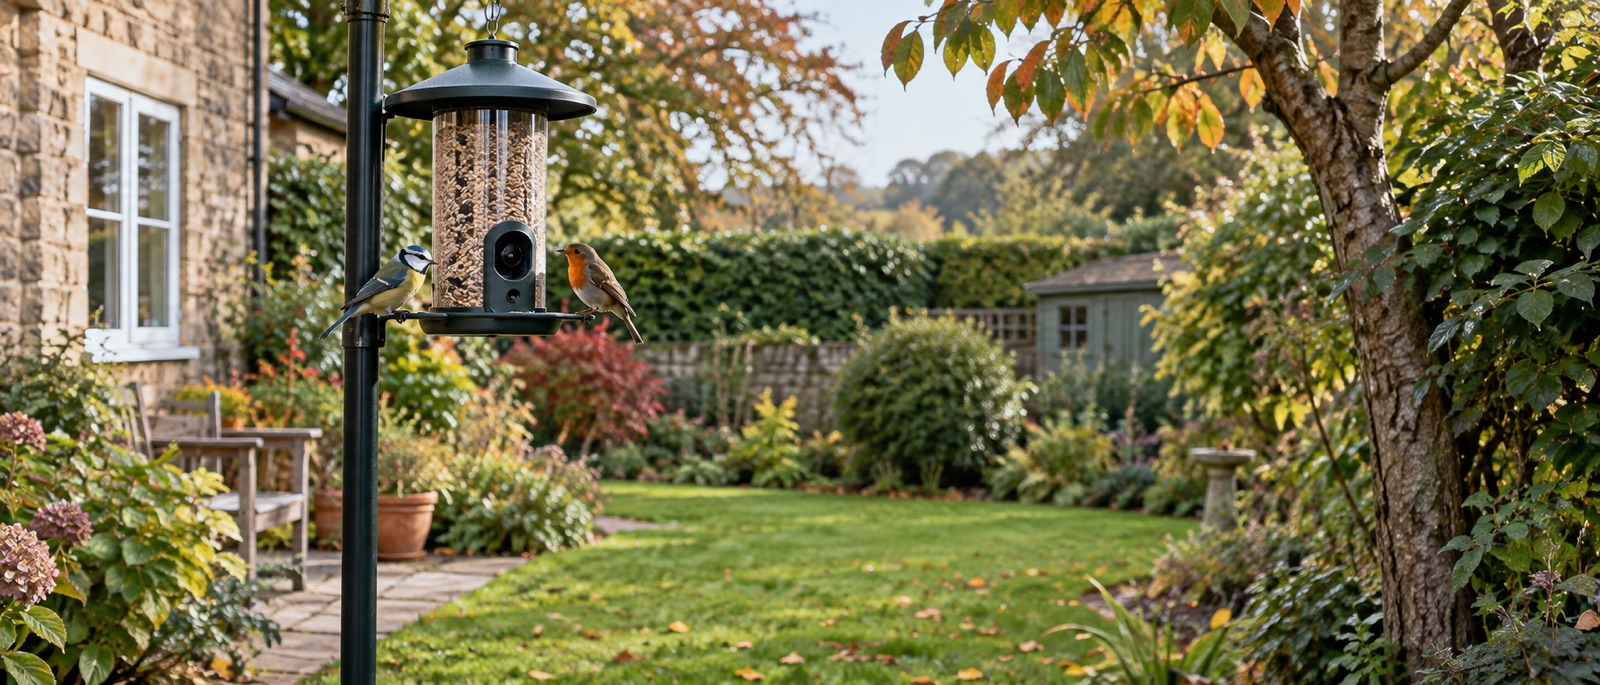
Site for birds and hygiene before camera framing.
Test signal and daylight where the camera will actually sit.
Keep the lens inside your own boundary and the feeder within reach.
A bird-feeder camera belongs where birds can approach safely and where you can clean it without a ladder. Aim for a firm position in your own garden, with nearby cover, a clear camera view and a dependable power or Wi-Fi route. Test the exact spot before making the fixing permanent; a perfect-looking angle is no use if the signal drops or the tray stays wet.
Start with the birds, not the app preview
The feeder should have an open approach and nearby cover birds can reach if startled. Keep it away from dense shrubs or walls that let a cat launch straight at the tray. Put several feeders in separate areas if the garden allows, rather than concentrating all visits in one cramped corner. The RSPB's updated feeding guidance also asks readers to clean and move feeders weekly and clear food or droppings below them.
Do not put a camera feeder where you cannot empty and wash it regularly. A high balcony rail or awkward tree branch may deliver an attractive picture for a week, then become a hygiene problem. Our broader guide to placing a feeding station covers access, cover and ground conditions in more detail.
Check the five things at the planned location
| Check | Good sign | Warning sign |
|---|---|---|
| Stable mounting | Loaded feeder stays level without swinging | Thin branch, loose rail or leaning pole |
| Birds' escape route | Nearby cover without an immediate cat hiding place | Tray buried in dense low foliage |
| Signal or cable | Live view works repeatedly at the exact spot | App shows one intermittent frame or cable crosses a path |
| Light | Lens is not pointed into harsh low sun; panel sees useful daylight | Bright sky washes out birds or panel lives in shade |
| Cleaning access | You can remove parts and clean the area beneath | You need a ladder or must reach over a drop |
For Wi-Fi, carry the powered camera to the final height and watch a live feed for several minutes. Do this at the time of day when you expect to use it. A signal reading indoors does not describe the garden; brick, metal and wet leaves change the result. Our Wi-Fi range guide explains fixes before you blame the camera.
Aim the lens without filming the neighbours
An integrated camera normally faces its own perch. A separate outdoor camera has a much wider view, so point it towards a feeder in your own garden and check the recorded frame—not just the thumbnail. Avoid neighbouring windows, paths and shared areas; use privacy masking if your model supports it. The ICO's home CCTV guidance explains why a camera recording beyond your property boundary brings extra responsibilities.
Check the background in morning and afternoon light. A dark bird against bright sky can become a silhouette. Moving the camera slightly, rather than moving the food into a poor site, may improve the view. Keep any security-camera spotlight and siren off around birds.
Solar, mains and mounting are separate decisions
A solar roof is convenient only if its panel can receive useful daylight without making the feeder hot, exposed or inaccessible. UK winter charging is less predictable; leave a safe way to remove or recharge the unit. A mains-powered camera needs an appropriate weather-protected low-voltage route. Keep indoor-only plugs indoors and provide a drip loop before cable entries.
Check the mount's specified clamp span, hole pattern and total loaded weight. Seed, rain and wind add to the bare product mass. A pole or rail clamp marketed as compatible with several smart feeders is still not a promise that it fits your exact unit. See the bird-camera mount guide if the supplied fixing is not suitable.
Revisit the site as the seasons change
New leaves can block a formerly good Wi-Fi path; bare winter branches can expose birds to wind. Watch for water pooling in the tray and damp food after rain. The RSPB currently advises seed and peanuts only from 1 November through 30 April, so you can use the autumn period to mount and test a camera before beginning seasonal seed feeding. Our cleaning guide for camera feeders shows why reachability should remain part of the siting decision.
Frequently asked questions
How far from a window should the feeder camera be?
There is no universal camera distance. Avoid a line of sight that encourages birds to fly at reflective glass; if a window is nearby, make glazing visible to birds and observe their approach. Do not sacrifice safe placement for a nicer indoor view.
Should a solar panel face south?
Useful daylight helps, but the bird-safe feeder site comes first. Follow the model's panel instructions and accept that you may need to recharge in winter.
Can a camera feeder hang from a tree branch?
Only if the branch and supplied hanger safely support its loaded weight, it does not swing excessively and you can clean it easily. A stable pole can be easier to manage.
Helpful products
Camera and mount examples for a planned position
Check the exact fixing, full feeder weight and railing or pole dimensions; these are not universal-fit parts.
Birdfy solar smart feeder camera
A solar-assisted feeder camera with automatic capture, alerts and live viewing in the Birdfy app.
Best familiar entry model. Drawback: identification may require payment depending on the exact variant.
iBorn 3-in-1 camera-feeder pole and rail clamp
A modular pole and rail-clamp mounting kit marketed for compatible smart feeders and bird houses; no camera or feeder is included.
For a supported pole or suitable deck rail after checking the exact clamp span, hole pattern and loaded weight. Universal wording is not a compatibility guarantee.