
Practical advice
Contains affiliate links
How to clean a camera bird feeder without damaging the camera
Clean the food-contact parts of a smart bird feeder weekly while keeping the camera, battery, solar connection and charging port dry.
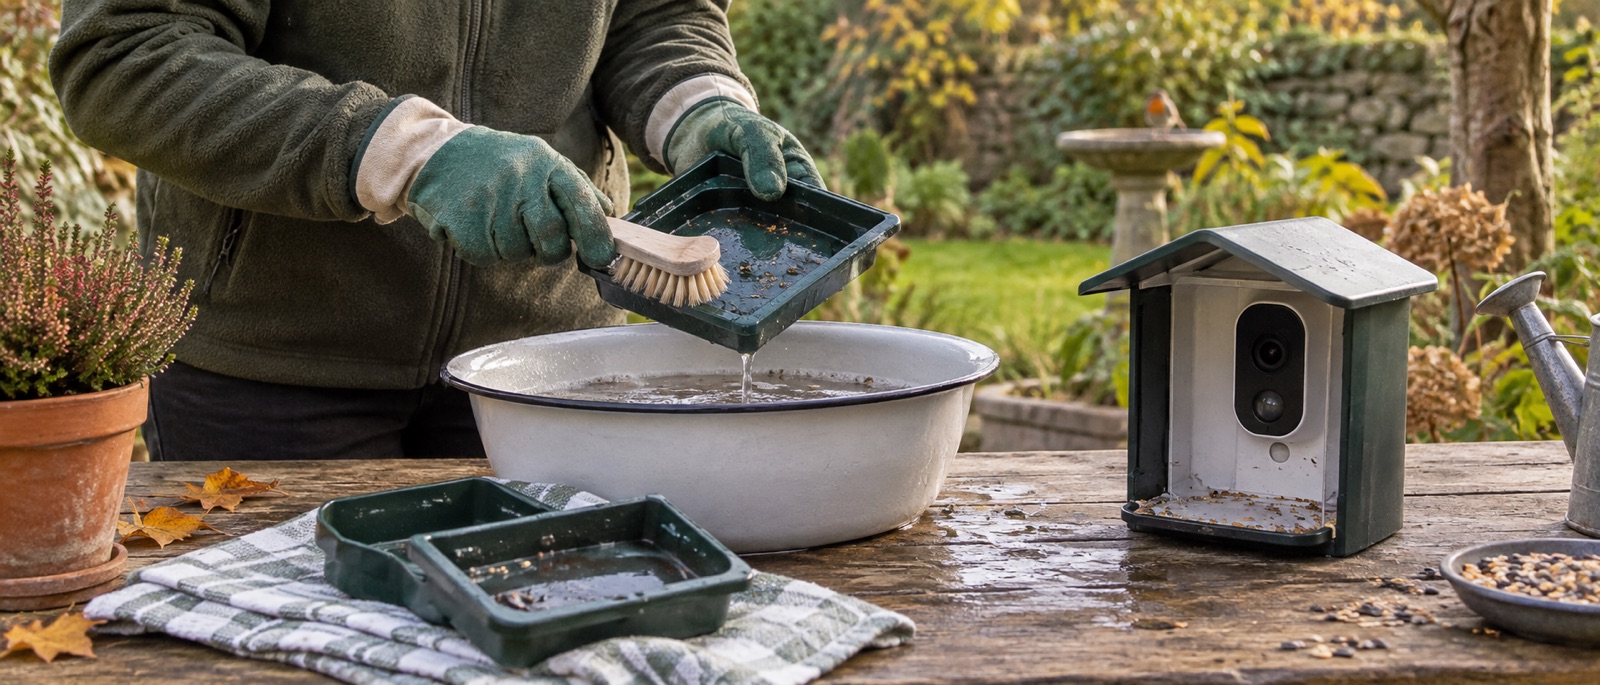
Unplug or remove camera parts before wet cleaning.
Brush crevices, ports and the underside of the perch.
Use little food and clear all spills beneath the feeder.
To clean a camera bird feeder, remove the food and separate the electronic module from the washable housing first. Follow the exact maker's disassembly steps, then scrub the tray, ports and seed chamber, disinfect as directed, rinse where required and let the parts dry completely before refilling. Never submerge a camera, battery insert or charging port just because the plastic feeder body can be washed.
Why camera feeders need the same hygiene as ordinary feeders
A camera encourages you to watch visits more often, but it does not tell you whether seed inside the hopper has become damp or whether droppings have collected beneath the perch. The RSPB's September 2026 guidance recommends cleaning and moving feeders weekly, removing old food underneath and offering seed and peanuts only between 1 November and 30 April. An apparently busy feeder is not an exception.
The general bird-feeder cleaning guide covers common hygiene steps. A smart feeder adds one essential boundary: food-contact parts are washable according to their manual; camera, battery and solar electrical contacts usually are not.
A safe cleaning sequence
- Wait until birds have left, then take the feeder down safely. Empty all seed and discard damp or mouldy food; do not top up over it.
- Switch off or remove the camera module and disconnect the panel or lead as the model manual directs. Protect electrical contacts and the charging socket from moisture.
- Take off the tray, perch, removable windows and food chamber only in the order the maker specifies. Note where clips and seals fit.
- Wash washable surfaces outdoors with a dedicated brush. Reach under the perch, around feeding ports and into drainage openings where husks collect.
- Use an appropriate bird-feeder cleaner or disinfectant according to its current label. Do not invent a stronger mix. Keep household kitchen utensils and food-preparation sinks out of the process.
- Rinse when the product instructions call for it, then dry all surfaces completely. A clean but wet chamber can ruin the next batch of food.
- Wipe the lens carefully with a soft dry cloth as the camera maker directs. Reassemble, check seals and drains, restore power and test a short live view before adding a modest fresh portion.
Birdbuddy's device-care guidance specifically separates its submersible housing parts from the camera and solar/battery insert. Birdfy's Feeder 2 manual shows camera removal before cleaning. Those are useful examples, but use the manual for your generation rather than copying a different product's steps.
Where grime hides on a smart feeder
| Area | What to look for | How to handle it |
|---|---|---|
| Tray and perch | Droppings, husks and sticky residue | Detach and scrub the food-contact surface |
| Hopper corners | Damp seed or clumped dust | Empty completely, brush and dry |
| Feeding ports | Material packed behind lips or guards | Use a narrow dedicated brush without forcing clips |
| Drainage holes | Blockage after rain | Clear gently and check free drainage |
| Lens and charging port | Smears or moisture | Wipe lens as directed; never flood or scrape contacts |
| Ground beneath | Old seed, hulls and droppings | Sweep hard surfaces and rotate the feeder position |
An extra-long feeder brush helps reach narrow channels; a purpose-made feeder cleaner can suit washable parts when its label is followed. Neither product belongs on the camera lens. If water has entered the camera or charging port, stop using it and follow the maker's drying/support instructions before reconnecting power.
Choose food portions that make cleaning manageable
Refill with only what birds are likely to take promptly. A camera housing can conceal wet seed even when the visible tray looks empty. If food repeatedly stays behind, reduce the amount, improve rain shelter and check our damp-seed guide. Our winter feeding routine gives seasonal quantities and water care.
Move the feeder's position as part of the cleaning routine if your garden permits; repeatedly dropping food in one patch raises the hygiene burden. Separate several feeding points rather than creating one crowded “camera hotspot”. If you notice sick birds or several deaths, stop feeding and follow current BTO/RSPB advice instead of simply cleaning and restarting immediately.
Frequently asked questions
Can I hose down the entire smart feeder?
Not with the camera or electrical insert attached. Some housings tolerate thorough washing; follow the exact manual and keep electronics dry.
How often should I clean it?
The RSPB currently advises weekly cleaning and moving. Clean sooner if food is wet, mouldy or contaminated by droppings.
Can I use the same brush as for kitchen bottles?
No. Keep bird-feeder cleaning tools outdoors and separate from food-preparation equipment.
Helpful products
A simple feeder-cleaning kit
Keep the brush and cleaner dedicated to outdoor bird-feeding equipment. Follow the cleaner's current label, especially dilution, contact time and rinsing.
Jacobi Jayne long bird feeder cleaning brush
A long-handled natural-bristle brush made for reaching inside bottle-shaped and tubular bird feeders.
Best for cleaning the length of feeder tubes. Drawback: a smaller detail brush may still be useful around ports and threads.
Inspired Bird Feeder Cleaner and Sanitiser
A ready-to-use 500ml trigger spray sold specifically for cleaning feeders, bowls and feeding-station equipment.
Best as the cleaning solution in a regular feeder-hygiene kit. Drawback: it must be used exactly as directed and rinsed thoroughly.